
The Windows key is a vital tool on your keyboard, providing shortcuts for system applications, opening the Start menu, and much more. When it stops working, it can be frustrating, hindering your workflow and making navigation difficult.
Fortunately, there are several solutions to fix this issue. In this guide, we’ll explore various methods to restore your Windows key functionality on both internal and external keyboards. Let’s dive into effective troubleshooting steps to fix the Windows key not working issue on your Windows 10/11 system.
Root Causes of the Windows Key Not Working Issue:
Several factors can cause the Windows key to stop working, as reported by many users. Identifying the root cause is crucial for an efficient troubleshooting process. Here are the most common culprits:
- Hardware issues: Physical damage to your keyboard, particularly the cable connecting it to your PC, can lead to malfunctions. Wireless keyboards are less likely to experience this problem.
- Major Windows 10 update: Certain updates might introduce issues, and a driver update may be required, especially for gaming keyboards.
- Windows 10’s Game Mode interference: Some keyboards, like the Razer Blackwidow, can conflict with Windows 10’s Game Mode. Disabling Game Mode can resolve the issue.
- Disabled Windows key: In some cases, the Windows key may be disabled by an app, a user, malware, or Game Mode.
- Windows 10’s Filter Key bug: A known bug in Windows 10’s Filter Key feature can cause typing issues on the login screen.
Now that we’ve identified the potential causes, let’s move on to methods that will help you restore your Windows key’s functionality effectively. Even if you’re new to troubleshooting, our easy-to-follow steps will help you fix the problem effortlessly.
How to Fix the Windows Key Not Working on Windows 10/11
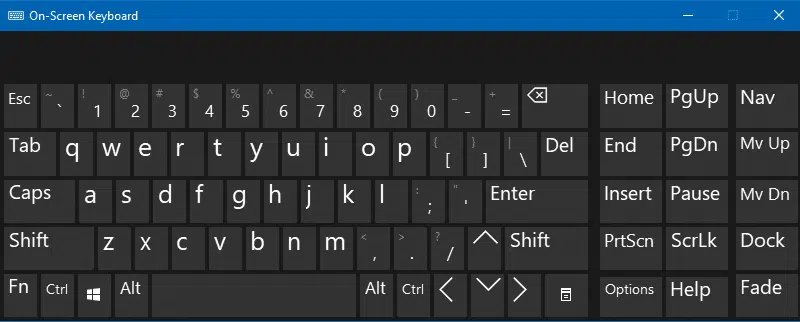
Prerequisite: Enable the On-Screen Keyboard
Before starting the troubleshooting process, we recommend enabling the on-screen keyboard in Windows 10/11. This will make it easier to navigate through menus and follow instructions, even if the Windows key is disabled at the system level.
Here’s how to activate the on-screen keyboard in Windows 10:
- Open the Settings app by clicking the gear icon in the Start menu or pressing Windows + I on your keyboard.
- Select the “Ease of Access” tile.
- Scroll down the left-side panel and click on “Keyboard” under the Interaction section.
- Toggle the switch under “Use the On-Screen Keyboard” to enable the virtual keyboard in Windows 10.
Once the on-screen keyboard is active, we can proceed with troubleshooting.
Method 1: Turn off the Filter Keys Feature
As mentioned earlier, the Filter Keys feature may have a bug that interferes with your keyboard. Disabling Filter Keys can help restore your Windows key’s functionality. Follow these simple steps:
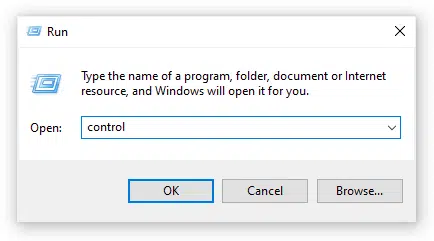
- Press Windows + R using the on-screen keyboard to open the Run utility, then type “control” and click OK to open the Control Panel.
- Ensure that your view mode is set to Category.
- Click on the “Ease of Access” heading.
- Click on the “Change how your keyboard works” link in the Ease of Access Center.
- Ensure the checkbox next to “Turn on Filter Keys” is unchecked. If it’s checked, click it to remove the checkmark.
- Click Apply, then OK.
Method 2: Use PowerShell to Restore Windows Key Functionality
PowerShell is a powerful tool that allows you to make adjustments and troubleshoot your computer through scripting. While it might seem complex at first, we’ll guide you through the process step-by-step.
Note: You’ll need a local user account with administrative permissions to perform most steps in this guide. If you’re unsure, refer to our guide on “How to Make a Local User an Administrator in Windows 10.”
- Press Windows + R on the on-screen keyboard to open the Run utility.
- Type “Powershell” and press Ctrl + Shift + Enter on your keyboard to launch PowerShell with administrative permissions.
- If prompted, click Yes to allow PowerShell to make changes to your device.
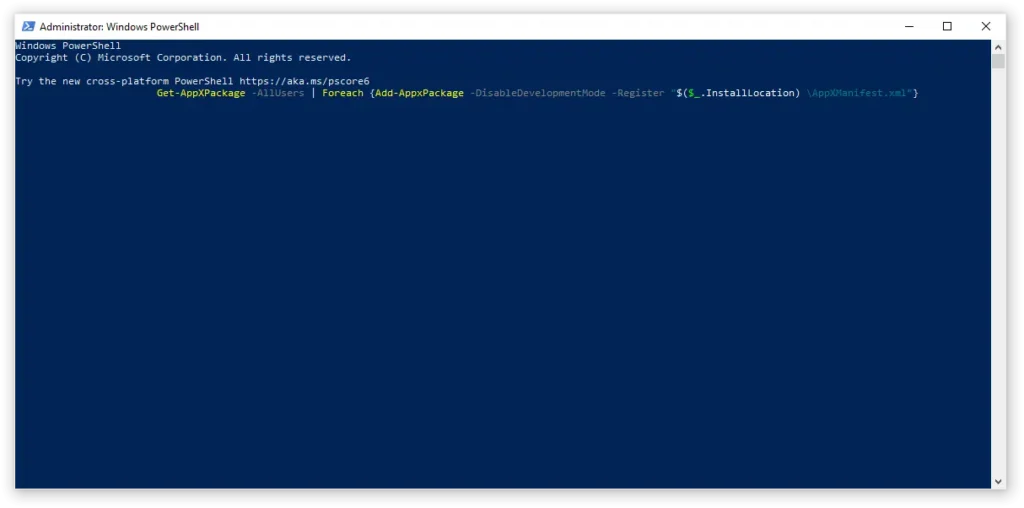
- Once in PowerShell, copy and paste the following command, then press Enter:
Get-AppXPackage -AllUsers | Foreach {Add-AppxPackage -DisableDevelopmentMode -Register "$($_.InstallLocation)\AppXManifest.xml"}
After the command finishes running, your Windows key should work again. If not, try another method from our guide.
Method 3: Adjust the Registry
You can apply a Registry tweak to restore your Windows key’s functionality to its working state.
Warning: Before proceeding, create a backup of your Registry. If you’re unsure how to do this, refer to “Registry Backup, Restore, Import, and Export” from Windows Ninja.
Follow these steps:
- Press Windows + R on the on-screen keyboard to open Run, then type “Regedit” and press OK to launch the Registry Editor.
- You can navigate the Registry Editor by expanding folders using the arrow icon next to their names, or for faster navigation, copy and paste the key into the Registry Editor’s address bar.
- Locate the following Registry key:
HKEY_LOCAL_MACHINE\SYSTEM\CurrentControlSet\Control\Keyboard Layout - Right-click on the “Scancode Map” registry key and select “Delete” to remove it. If you don’t find this key, it might not be available on your device. In this case, proceed with another method below.
- Close the Registry Editor and restart your computer.
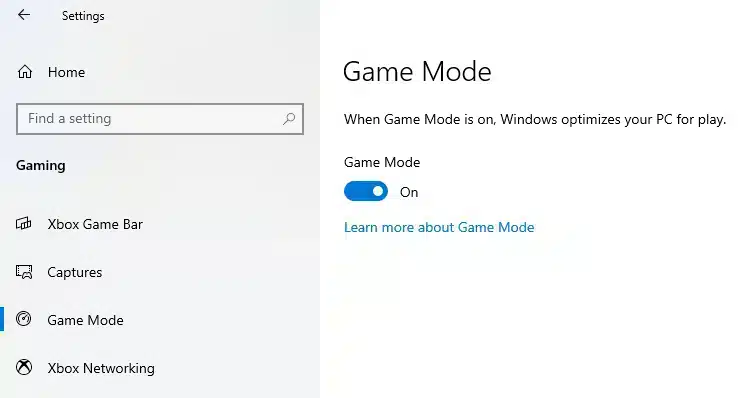
Method 4: Disable Game Mode in Windows
Microsoft introduced Game Mode in Windows 10 to optimize the gaming experience. However, it may cause conflicts, disable necessary features, or negatively impact your gaming performance. Users have reported that Game Mode can conflict with keyboards, making the Windows key unusable. Here’s how to disable it:
- Click the Start menu (Windows icon) in your taskbar and choose Settings. Alternatively, use the Windows + I keyboard shortcut if you’ve enabled the on-screen keyboard.
- Select “Gaming” from the available menu options.
- Switch to the “Game Mode” tab in the left panel.
- Ensure the toggle under “Game Mode” is set to “Off.”
Method 5: Create a New User Account
An easy yet effective solution to resolve Windows key issues is to create a new user account. If the Windows key works on the new account, you can transfer your files and begin using the new account. Here’s how to create one:
- Click the Start menu and choose “Settings.” Alternatively, use the Windows + I keyboard shortcut from the on-screen keyboard.
- Click on the “Accounts” tile.
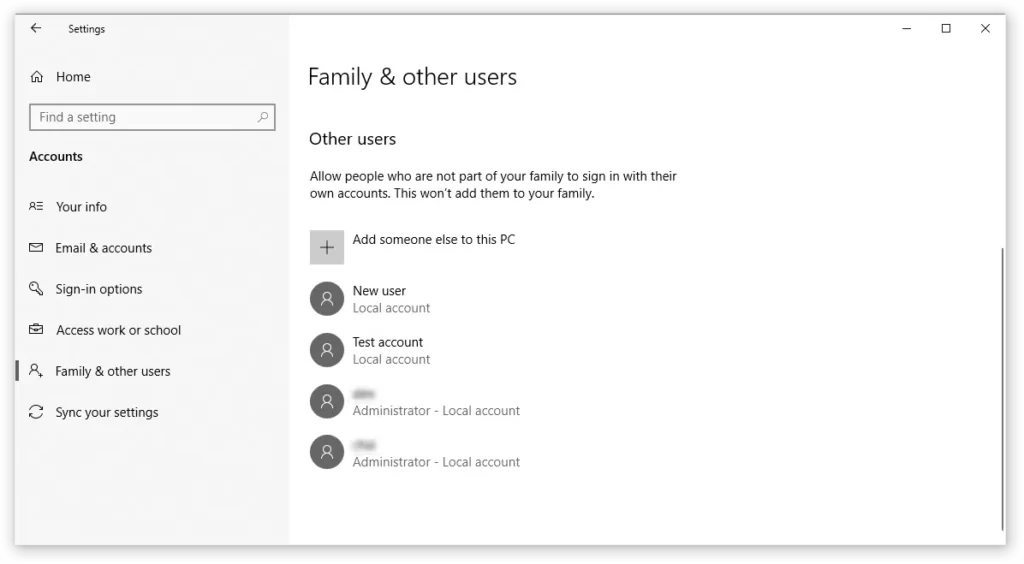
- Navigate to the “Family & other users” tab using the left-side panel.
- Scroll down and click “Add someone else to this PC.” The fastest way to create a new user account is offline, so we’ll use this method.
- Instead of signing in with a Microsoft account, click “I don’t have this person’s sign-in information.”
- Next, click “Add a user without a Microsoft account.”
- Enter a username and optionally add a password, then click Next. The new user is created and ready for use.
Method 6: Perform a System File Checker Scan
The System File Checker (SFC scan) is a built-in tool in Windows 10 that automatically repairs corrupted system files and resolves other issues.
Running this scan can fix problems such as Windows 10 reset failures. Here’s how to run it:
- Press Windows + R on the on-screen keyboard to open the Run utility.
- Type “cmd” and press Ctrl + Shift + Enter on your keyboard to launch the Command Prompt with administrative permissions.
- If prompted, click Yes to allow the Command Prompt to make changes to your device.
- In the Command Prompt, type the following command and press Enter:
sfc /scannow - Wait for the SFC scan to finish scanning and repairing any corrupted files. This process may take some time, so avoid closing the Command Prompt or shutting down your computer.
- Restart your device after the scan is complete.
Method 7: Use DISM from the Command Prompt
DISM is another command used to repair Windows 10 images and may help restore your Windows key functionality.
Here’s how to use DISM to fix the issue:
- Press Windows + R on the on-screen keyboard to open the Run utility.
- Type “cmd” and press Ctrl + Shift + Enter on your keyboard to launch the Command Prompt with administrative permissions.
- If prompted, click Yes to allow the Command Prompt to make changes to your device.
- In the Command Prompt, type the following two commands and press Enter after each one to execute them: swiftCopyEdit
Dism /Online /Cleanup-Image /StartComponentCleanupDism /Online /Cleanup-Image /RestoreHealth
- Wait for the commands to finish running, then restart your computer.
- After the restart, verify if the Windows key is working.
One more thing
If you’re in search of a software company that embodies integrity and upholds honest business practices, your quest ends here at Ecomkeys.com. As a Microsoft Certified Partner, we prioritize the trust and satisfaction of our customers. Our commitment to delivering reliable software products is unwavering, and our dedication to your experience extends far beyond the point of sale. At Ecomkeys.com, we provide a comprehensive 360-degree support system that accompanies you throughout your software journey. Your trust is our foundation, and we’re here to ensure that every interaction with us is a positive and trustworthy one.