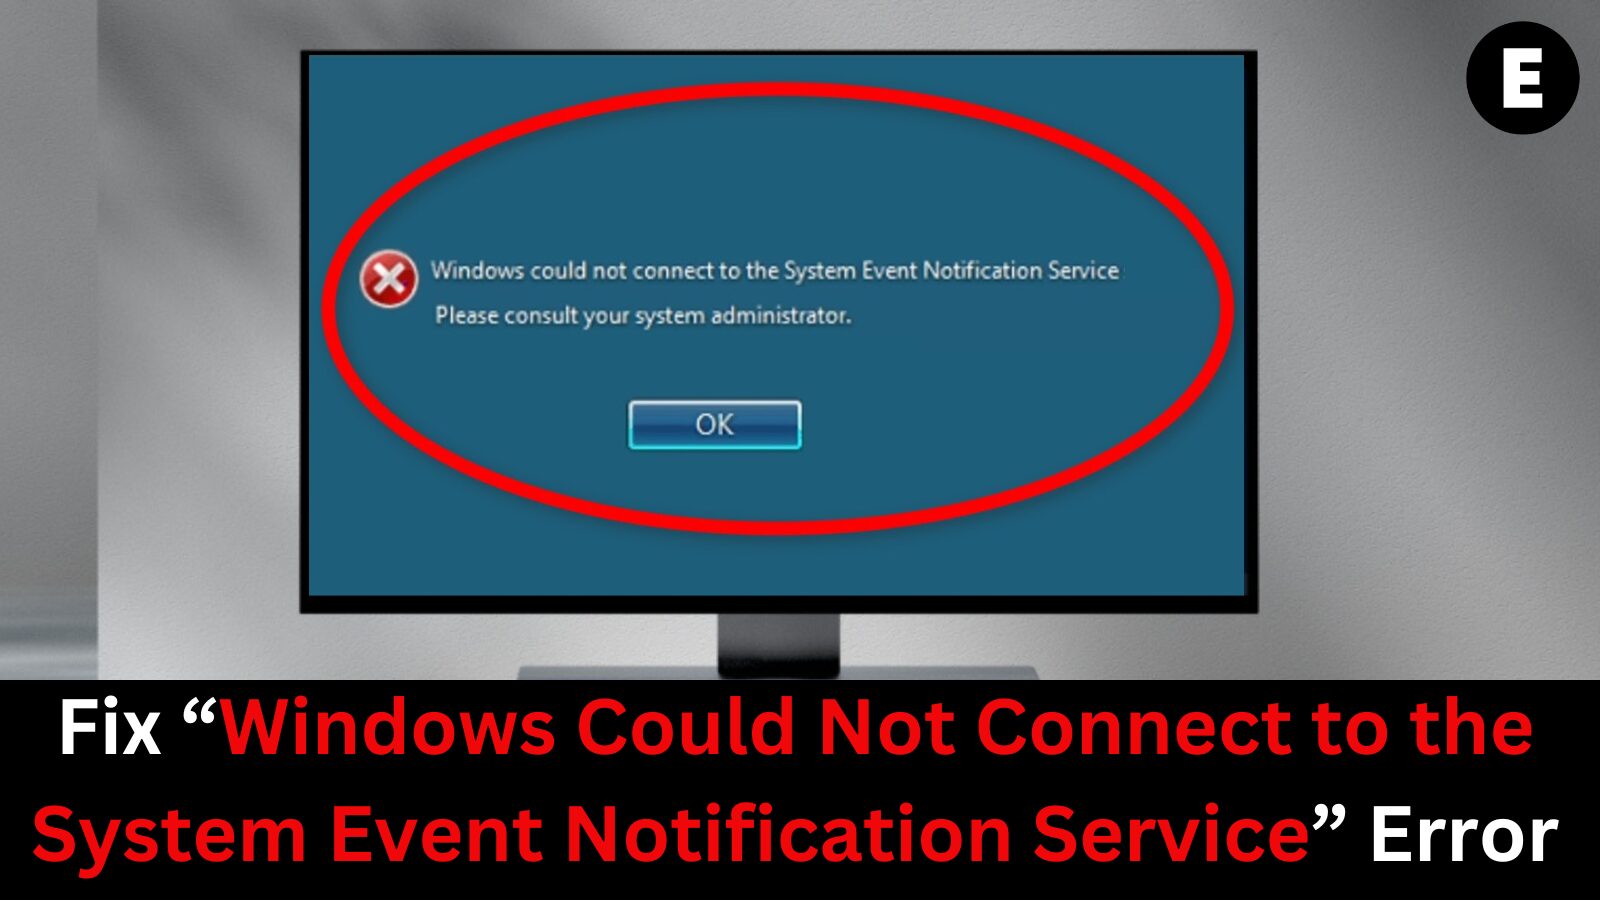
After a system update, it’s common to encounter unexpected bugs and errors on your Windows 7 computer. One particularly frustrating issue you might face is the “Windows could not connect to the System Event Notification Service” error. This error can prevent you from logging into your account or result in a flood of additional error messages once you finally gain access. While this issue can be annoying, there’s no need to panic—it’s not a hardware problem, so there’s no reason to rush out and buy a new computer just yet.
In this guide, we’ll walk you through what causes this error, why it happens, and most importantly, how you can fix it quickly and easily from the comfort of your home. Whether you’re troubleshooting on your own or just want to understand the issue better, we’ve got you covered. Keep reading to learn how to resolve the “Windows could not connect to the System Event Notification Service” error and get your computer running smoothly again in just a few minutes.
Common Causes of the “Windows Could Not Connect to the System Event Notification Service” Error
The “Windows Could not connect to the System Event Notification Service” error is a common issue on Windows 7, but there isn’t a single, definitive cause. Based on user experiences and insights from the Microsoft team, we’ve compiled a list of potential triggers for this frustrating problem. Understanding the causes can help you pinpoint the issue and resolve it efficiently.
- Windows Update Issues
One of the most common causes of this error is a recent Windows update, particularly the KB2952664 update, which has been reported to disrupt the System Event Notification Service (SENS) in Windows 7. If you’ve recently installed an update and noticed the error afterward, this could be the culprit. - Corrupted SENS Service
The System Event Notification Service itself might be corrupted, especially if your computer has been improperly shut down multiple times. This corruption can prevent the service from functioning properly, leading to the error. - Font Cache Service Problems
The Windows Font Cache Service plays a crucial role in Windows 7 by supporting various system services. If this service encounters issues, it can trigger a cascading effect that affects the SENS service, resulting in the error. - DHCP Client Service Not Running
The DHCP Client Service manages IP addresses and DNS records, essential for network connections. If this service is disabled or not running properly, it may cause the SENS service to malfunction and lead to error messages. - Incorrect Winsock Catalog Settings
The Winsock Catalog is vital for network communication, and any issues with its settings can disrupt the proper functioning of services like SENS. Restoring the Winsock Catalog settings to their default state can often resolve related errors. - Antivirus or Security Software Interference
Some antivirus programs, particularly those offering advanced network protection features like Symantec Endpoint Protection, can interfere with the SENS service, triggering errors. If you suspect your security software is causing the issue, try temporarily disabling it and check if the problem persists. - Outdated Video Card Drivers
Outdated video card drivers can lead to a variety of issues, including problems with system services like SENS. Regularly updating your drivers can help prevent such conflicts and keep your system running smoothly.
By identifying and addressing these potential causes, you can fix the “Windows Could Not Connect to the System Event Notification Service” error and restore your system’s functionality.
How to Fix the “Windows Could Not Connect to the System Event Notification Service” Error
Now that we’ve discussed the possible causes of the “Windows could not connect to the System Event Notification Service” error, it’s time to tackle the solution. If you can’t access your usual user account due to the error, try logging into an administrator account. Every system has at least one administrator account, so it’s worth getting access to that account (or its owner) to proceed with troubleshooting.
Once you’re logged in as an administrator, you can follow these steps to resolve the error.
Note: While these steps are designed for Windows 7, the same methods can be applied to older systems such as Windows Vista and Windows XP. If you’re using one of these systems, give our solutions a try—it might just work for you too!
Method 1: Restart and Automate the System Event Notification Service
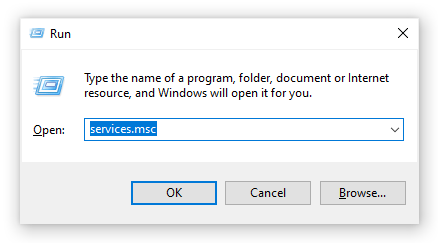
- Launch the Run Utility
Press the Windows + R keys simultaneously to open the Run dialog. - Open the Services Window
Type “services.msc” in the text box and hit OK to open the Services window.
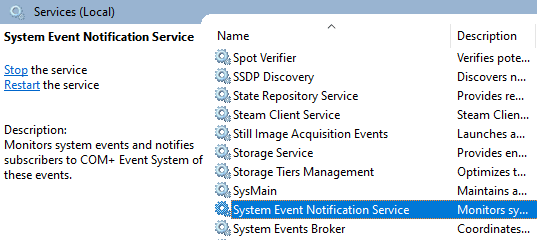
- Locate the System Event Notification Service
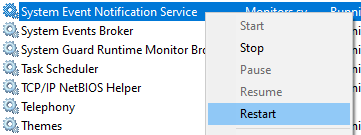
Wait for the services to load completely. Then, scroll down and locate the System Event Notification Service (SENS).

- Restart the Service
Right-click on the System Event Notification Service and select Restart from the context menu. If the Restart option isn’t available, select Start instead.

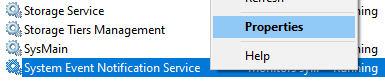
- Check the Service Properties
Right-click on System Event Notification Service again and choose Properties.
- Set the Service to Automatic
In the Properties window, ensure that the Startup type is set to Automatic. Click OK to confirm the changes.

- Restart Your Computer
After making these changes, restart your computer to apply them.
Once your computer restarts, test to see if the error has been resolved. If the issue persists, you may need to explore additional troubleshooting methods, but this step will often fix the error in just a few minutes.
Method 2: Restart and Automate the Windows Font Cache Service
If restarting the System Event Notification Service didn’t resolve the error, the next step is to ensure that the Windows Font Cache Service is functioning properly. This service plays a crucial role in ensuring smooth system operation, and issues with it can lead to the SENS error.
Follow these steps to restart and automate the Windows Font Cache Service:
- Open the Run Utility
Press Windows + R on your keyboard to launch the Run dialog. - Access the Services Window
Type “services.msc” and click OK to open the Services window.

- Locate the Windows Font Cache Service
Wait for the services to load completely, then scroll down and find the Windows Font Cache Service.
- Restart the Service
Right-click on Windows Font Cache Service and choose Restart from the context menu. If the Restart option is unavailable, select Start instead. - Adjust the Service Properties
Right-click on the Windows Font Cache Service again and select Properties.
- Set the Service to Automatic
In the Properties window, ensure that the Startup type is set to Automatic. Click OK to save the changes.

- Restart Your Computer
After making these adjustments, restart your computer to apply the changes.
Once your system has restarted, attempt to log into your accounts and check if the error still persists. If the issue continues, it may be necessary to explore additional troubleshooting methods, but this step should resolve the problem in many cases.
Method 3: Enable the DHCP Service
Another potential cause of the “Windows could not connect to the System Event Notification Service” error is the DHCP Client service, which can sometimes become disabled. This service is responsible for managing IP addresses and DNS records, and if it’s not running, it can interfere with other services, including SENS. If you’re still encountering the error, it’s worth checking and enabling the DHCP service.
Here’s how to ensure the DHCP service is enabled:
- Open the Run Utility
Press Windows + R on your keyboard to open the Run dialog box. - Access the Services Window
Type “services.msc” and press OK to open the Services window.

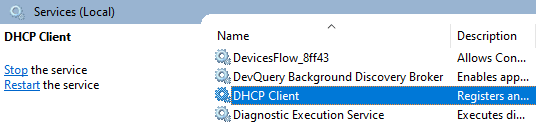
- Locate the DHCP Client Service
Scroll through the list of services and double-click on the DHCP Client.
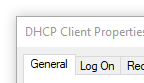
- Open the General Tab
Ensure you’re on the General tab in the properties window for the DHCP Client service.
- Change the Startup Type to Automatic
Under Startup type, change the setting to Automatic. This ensures that the DHCP service starts up automatically when your computer boots.

- Check the Service Status
Verify that the Service status says “Running.” If it isn’t, click the Start button to enable the service.

- Restart Your Computer
After making these changes, click OK to confirm, then restart your computer.
Once your system reboots, test to see if the issue with the System Event Notification Service is resolved. Enabling the DHCP service can often fix the error and restore normal functionality to your system.
Method 4: Update Your Antivirus
If you’re still encountering the System Event Notification Service error, it could be due to interference from your antivirus software. Many users have reported that updating their antivirus client to the latest version resolved the issue. This is likely because some antivirus programs offer network and endpoint protection, which can sometimes conflict with system services like SENS.
To fix the error, try updating your antivirus software:
- Open Your Antivirus Software
Launch your antivirus application. Most programs have an easy-to-find settings or update tab where you can check for the latest version.
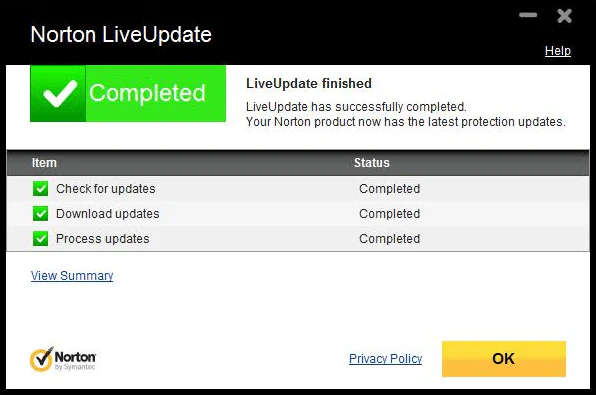
2. Look for an Update Option
Many antivirus programs, such as Norton Antivirus, feature a LiveUpdate function that allows you to automatically download and install the latest updates. Check your software for any similar feature. Example: Norton Antivirus users can use the LiveUpdate feature to keep the software up to date, which may resolve conflicts with the SENS service.
3. Automatic Updates
If your antivirus has an automated update feature, it will notify you when new updates are available. Be sure to enable this feature so your antivirus is always up to date.
4. Visit the Antivirus Website or Online Tutorials
If you’re unsure how to update your antivirus, refer to the software’s official website or search for online tutorials. Since each antivirus application has a slightly different interface, it’s best to follow the instructions specific to your software.
Updating your antivirus may eliminate any conflicts with the System Event Notification Service, and once done, check to see if the error is resolved.
Method 5: Reset the Winsock Catalog
If your Winsock Catalog has been corrupted or altered, it could be causing issues with the System Event Notification Service. In this case, resetting the Winsock Catalog is a good solution. This can be done easily through the Command Prompt.
Don’t worry if you’re not familiar with using commands—just follow the steps below and copy-paste the commands as instructed.
Here’s how to reset the Winsock Catalog:
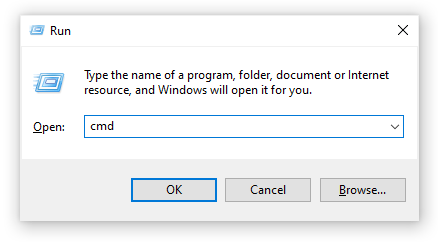
1.Open the Run Utility
Press Windows + R on your keyboard to open the Run dialog box.
2. Launch Command Prompt as Administrator
Type “cmd” and then press Ctrl + Shift + Enter to open the Command Prompt with administrator privileges.
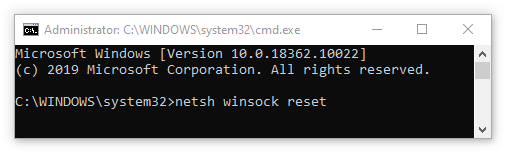
3. Reset the Winsock Catalog
In the Command Prompt window, type the following command and press Enter: netsh winsock reset
4. Restart Your Computer
After the command is executed, restart your computer to apply the changes.
Once your system reboots, check to see if the System Event Notification Service error has been resolved. Resetting the Winsock Catalog can often fix network-related issues and restore proper functionality to system services like SENS.
Method 6: Uninstall the Windows KB2952664 Update
As mentioned in the “What Causes the ‘Windows Could Not Connect to the System Event Notification Service’ Error?” section, the KB2952664 update is one of the most common causes of this issue. Many users have reported that this update not only interferes with the System Event Notification Service (SENS) but also causes other problems, such as significant performance drops, slow browsing, window freezes, and even slow shutdowns.
If none of the previous methods have worked, we recommend uninstalling this specific update to resolve the issue. Follow the steps below to uninstall the KB2952664 update:
- Open the Start Menu
Click on the Windows icon in the bottom left corner of your screen to open the Start Menu.
2. Access Control Panel
Click on Control Panel.
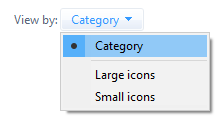
3. Change the View by Mode
Set the View by option to Category to make navigation easier.
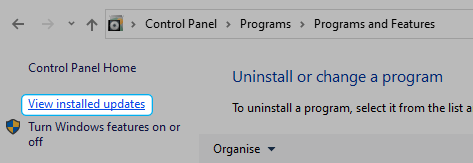
4. Uninstall a Program
Under the Programs section, click on the Uninstall a program link.

5. View Installed Updates
On the left side of the window, click on the View installed updates link.
6. Locate and Uninstall KB2952664
Scroll through the list of installed updates and locate the KB2952664 update. Right-click on it and select Uninstall. This will remove the problematic update from your system.
7. Restart Your Computer
After uninstalling the update, restart your computer to apply the changes.
Once your system reboots, check to see if the error still occurs. Uninstalling the KB2952664 update has resolved the issue for many users, and it could help restore proper functionality to your computer.
Watch: 10 Must Have Apps and Software for Windows 2023
Final Thoughts
We hope our comprehensive guides helped you successfully resolve the “Windows could not connect to the System Event Notification Service” error on your Windows 7 system. By following the methods outlined, you should be able to restore your system’s functionality and get back to a smooth computing experience.
If you’re experiencing other Microsoft Windows issues, need further troubleshooting advice, or want to explore more about your operating system, be sure to check out our other helpful articles.
For those seeking a trustworthy software provider with integrity and a customer-first approach, SoftwareKeep is here to help. As a Microsoft Certified Partner and a BBB Accredited Business, we’re dedicated to offering reliable and top-quality software products, ensuring a satisfying experience for all of our customers. We’re with you every step of the way—before, during, and after the sale.
One more thing
If you’re in search of a software company that embodies integrity and upholds honest business practices, your quest ends here at Ecomkeys.com. As a Microsoft Certified Partner, we prioritize the trust and satisfaction of our customers. Our commitment to delivering reliable software products is unwavering, and our dedication to your experience extends far beyond the point of sale. At Ecomkeys.com, we provide a comprehensive 360-degree support system that accompanies you throughout your software journey. Your trust is our foundation, and we’re here to ensure that every interaction with us is a positive and trustworthy one.
Related Articles
- Resolve File Explorer Search Box Problems Quickly
- Resolve the WslRegisterDistribution Failed Error with 0x80070032 Code
- How to Resolve the DNS_PROBE_FINISHED_NXDOMAIN Error on Windows