NVIDIA graphics cards are widely popular for their powerful performance, affordability, and customization options that help users optimize their visual experience. However, some users encounter an issue where the NVIDIA Control Panel is missing, preventing them from accessing crucial settings.
As of now, the NVIDIA Control Panel is the primary tool for adjusting your graphics card settings. Without it, you may experience suboptimal visuals, performance issues, or lag due to poor optimization.
In this article, we’ll explore the common causes behind the missing NVIDIA Control Panel and provide step-by-step solutions to restore it.
Why Is the NVIDIA Control Panel Missing? Common Causes Explained
Possible Causes for the NVIDIA Control Panel Missing Issue
There isn’t a single definitive reason why the NVIDIA Control Panel is missing on Windows 10, but several common factors can contribute to this problem. Identifying the root cause can make troubleshooting easier and more effective.
Here are the most frequent reasons why the NVIDIA Control Panel disappears:
- Driver Issues – Outdated, corrupted, or incompatible NVIDIA drivers can prevent the control panel from appearing. Updating or reinstalling your drivers may resolve the issue.
- Windows 10 Update Conflicts – If you recently updated Windows 10 or upgraded from an older version, your NVIDIA drivers might no longer be compatible. Rolling back an update could help fix the problem.
- Missing or Incorrect Windows Registry Entries – The Windows Registry plays a crucial role in system settings. If certain NVIDIA-related registry keys are missing or incorrect, the control panel might not be accessible. Using the Registry Editor can help resolve this.
- Corrupt NVIDIA Control Panel Files – If essential NVIDIA Control Panel files are deleted or damaged, the software may stop functioning. Reinstalling the NVIDIA Control Panel can help restore it.
- General Windows 10 Bugs – Various Windows 10 errors and system glitches can cause the NVIDIA Control Panel to go missing unexpectedly.
While these are the most common causes, other unique factors might be at play. No matter the reason, the solutions in the next sections will help you restore the NVIDIA Control Panel and regain control over your graphics settings.
How to Fix the NVIDIA Control Panel Missing Issue on Windows 10
There are multiple ways to fix the NVIDIA Control Panel missing issue. Some solutions involve general troubleshooting, while others target specific causes. Follow the step-by-step methods below to restore the missing NVIDIA Control Panel.
💡 Note: Some solutions require administrator permissions. If needed, refer to our guide on How to Make a Local User an Administrator in Windows 10.
Method 1: Unhide the NVIDIA Control Panel
Sometimes, the NVIDIA Control Panel gets hidden, either manually or automatically by Windows 10 or third-party software. Here’s how to unhide it:
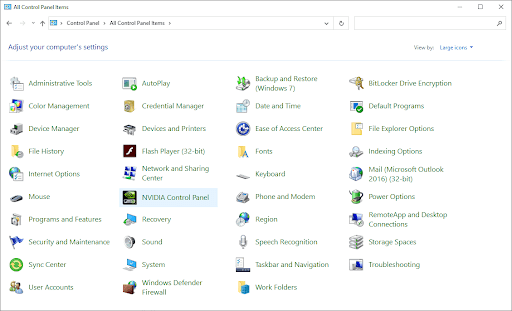
- Open the Search bar in your taskbar by clicking the magnifying glass or pressing Windows + S.
- Type Control Panel and select it from the results.

- Change the View by mode to Large icons, then click NVIDIA Control Panel.
- In the NVIDIA Control Panel, click on the Desktop menu at the top.
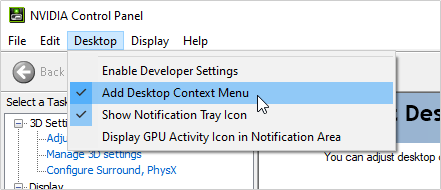
- Ensure the following options are checked:
- ✅ Add Desktop Context Menu
- ✅ Show Notification Tray Icon
- Close the NVIDIA Control Panel and check if it now appears in the system tray or desktop right-click menu.
Method 2: Restart NVIDIA Services
Several NVIDIA background services run to keep the control panel accessible. Restarting them may resolve the missing panel issue.
- Press Windows + R, type services.msc, and press Enter.
- Locate NVIDIA Display Container LS in the list.
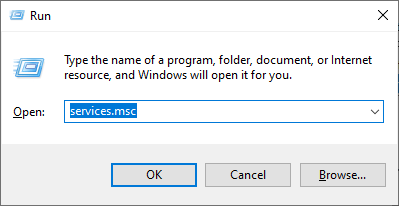
- Right-click on it and select Restart.
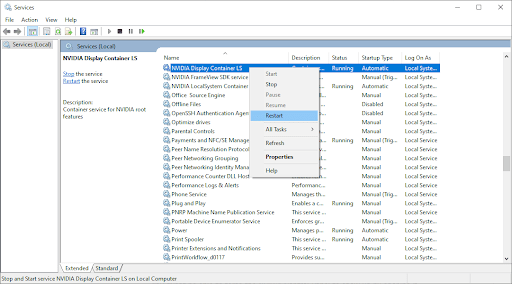
- Repeat the process for these services:
- NVIDIA LocalSystem Container
- NVIDIA NetworkService Container
- NVIDIA Telemetry Container
- Check if the NVIDIA Control Panel reappears in your system tray or desktop context menu.
If the issue persists, continue with additional troubleshooting steps. 🚀
Method 3: Manually Open the NVIDIA Control Panel
If the NVIDIA Control Panel is missing, you can try manually opening it to restore access. Follow these steps:
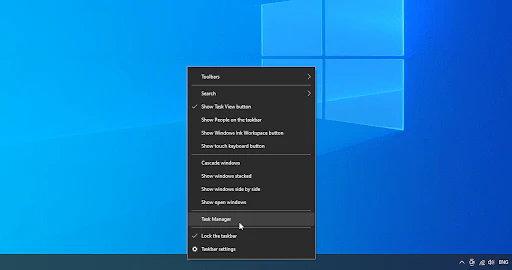
- Open Task Manager:
- Right-click on an empty space in your taskbar and select Task Manager.
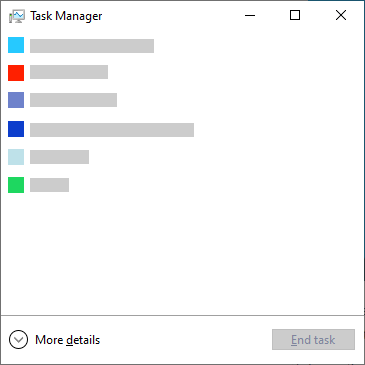
- If Task Manager opens in compact mode, click “More details” to expand it.
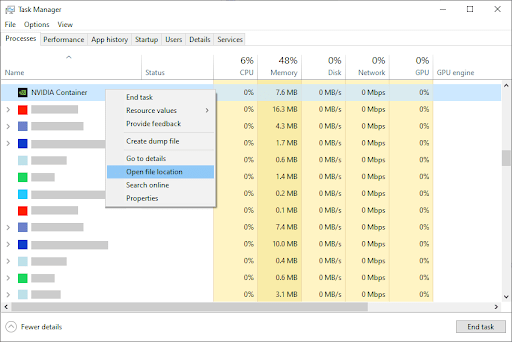
- Locate NVIDIA Container Processes:
- In the Processes tab, scroll down and find NVIDIA Container.
- There may be multiple NVIDIA Container processes running—this is normal.
- Open File Location:
- Right-click on any NVIDIA Container process and select Open file location.
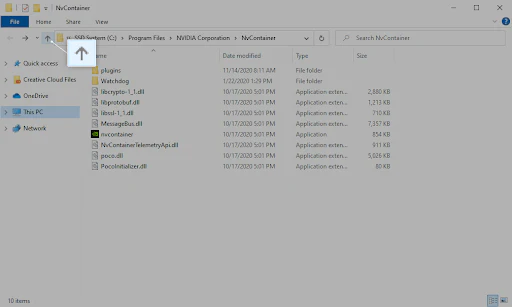
- Navigate to NVIDIA Control Panel:
- In the File Explorer window, click the Up arrow in the address bar to go to the C:\Program Files\NVIDIA Corporation folder.
- Open the Control Panel Client folder.
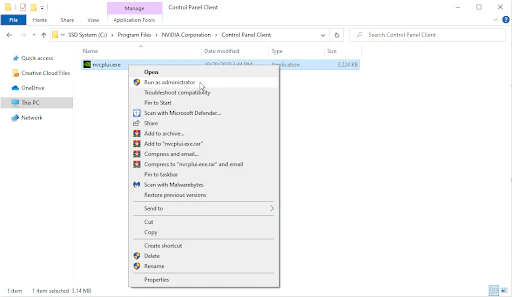
- Run NVIDIA Control Panel as Administrator:
- Locate nvcplui.exe, right-click on it, and choose Run as administrator.
- If prompted, enter your administrator password.
- Check for NVIDIA Control Panel:
- See if it now appears in the system tray or desktop context menu.
If the NVIDIA Control Panel is still missing, try the additional troubleshooting methods below! 🚀
Method 4: Update Your NVIDIA Display Driver
Keeping your NVIDIA display driver updated is essential for system stability and optimal performance. An outdated or corrupted driver can cause the NVIDIA Control Panel to go missing, especially after major Windows 10 updates.
Here are three ways to update your NVIDIA graphics driver and restore the missing Control Panel:
Option 1: Manually Update Your Graphics Driver
- Check Your Graphics Card Model:
- Press Windows + R, type dxdiag, and click OK.
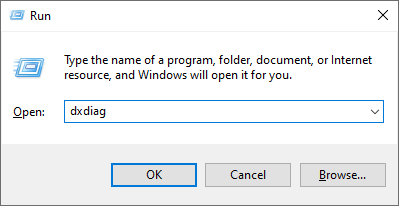
- In the DirectX Diagnostic Tool, switch to the Display tab.
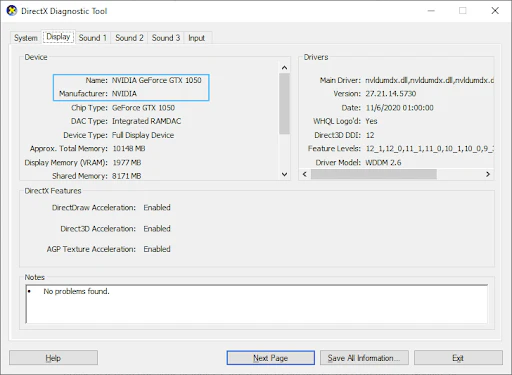
- Take note of your GPU name and manufacturer.
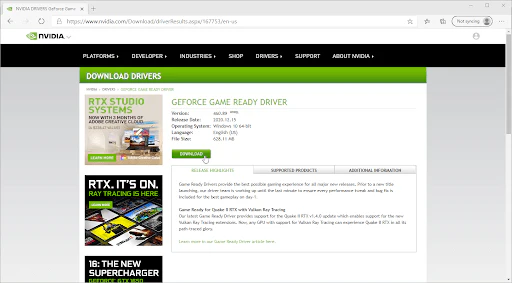
- Download the Latest Driver:
- Visit your GPU manufacturer’s official website:
- Search for your GPU model and download the latest driver.
- Install the Driver:
- Double-click the downloaded file and follow the on-screen instructions.
- Restart your computer for the changes to take effect.
Option 2: Automatically Update Drivers via Windows
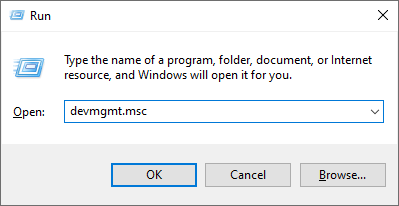
- Press Windows + R, type devmgmt.msc, and click OK to open Device Manager.
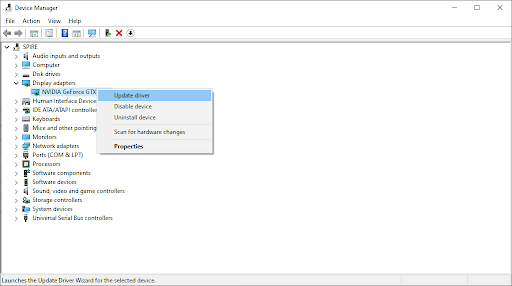
- Expand the Display adapters section.
- Right-click your NVIDIA graphics card and select Update driver.
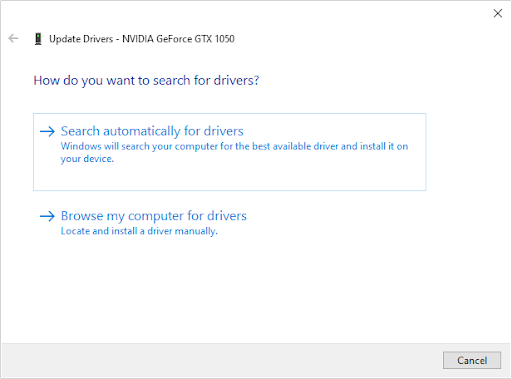
- Click Search automatically for updated driver software.
- Restart your PC after the update is installed.
Option 3: Use a Third-Party Driver Update Tool
If you prefer automated driver updates, you can use trusted third-party tools like:
- Driver Booster
- DriverHub
- DriverPack Solution
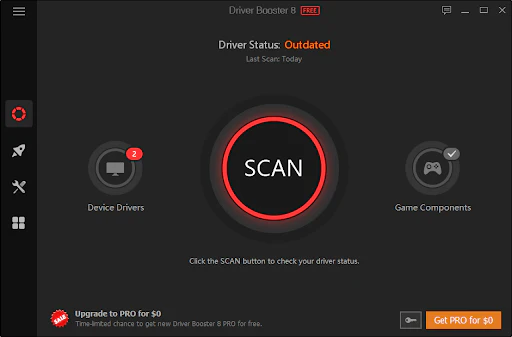
💡 Tip: Be cautious when downloading third-party apps. Only use reputable sources to avoid malware, spyware, or adware. Always read user reviews before installing any software.
Updating your NVIDIA display driver should help restore the missing NVIDIA Control Panel and enhance system performance. 🚀
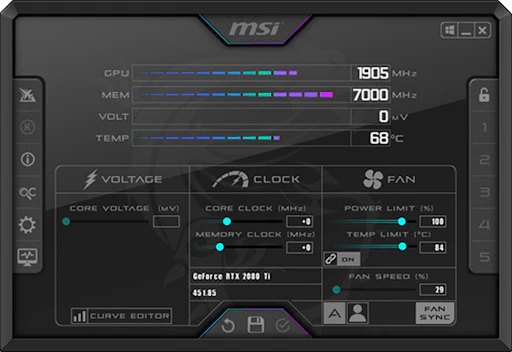
Method 5: Avoid Overclocking Your GPU
Overclocking your GPU can boost performance by pushing your graphics card beyond its default limits. However, this practice can also cause system instability, crashes, and errors, including the NVIDIA Control Panel missing issue.
While overclocking can provide higher frame rates and smoother performance, it comes with risks. Pushing your GPU too far may lead to overheating, system failures, and even permanent damage to your hardware. Many users have reported that disabling overclocking helped them restore the NVIDIA Control Panel on their Windows 10 system.
Why You Should Disable GPU Overclocking?
- Prevents system crashes and stability issues.
- Reduces overheating and potential hardware damage.
- Restores missing features, including the NVIDIA Control Panel.
If you’re experiencing the NVIDIA Control Panel missing error, reset your GPU to default settings and see if the issue resolves.
Final Thoughts
We hope this guide helped you fix the missing NVIDIA Control Panel on Windows 10! Now you can customize, optimize, and tweak your graphical settings effortlessly.
💡 Need more Windows support? Our customer service team is available 24/7 to assist you.
📩 Stay Updated! Subscribe to our newsletter for exclusive deals, software discounts, and the latest tech news delivered straight to your inbox!
✅ Why Choose EcomKeys?
- Microsoft Certified Partner
- BBB Accredited Business
- Trusted by thousands of customers worldwide
We’re committed to providing you with a reliable, satisfying experience before, during, and after your purchase. 🚀
One more thing
If you’re in search of a software company that embodies integrity and upholds honest business practices, your quest ends here at Ecomkeys.com. As a Microsoft Certified Partner, we prioritize the trust and satisfaction of our customers. Our commitment to delivering reliable software products is unwavering, and our dedication to your experience extends far beyond the point of sale. At Ecomkeys.com, we provide a comprehensive 360-degree support system that accompanies you throughout your software journey. Your trust is our foundation, and we’re here to ensure that every interaction with us is a positive and trustworthy one.