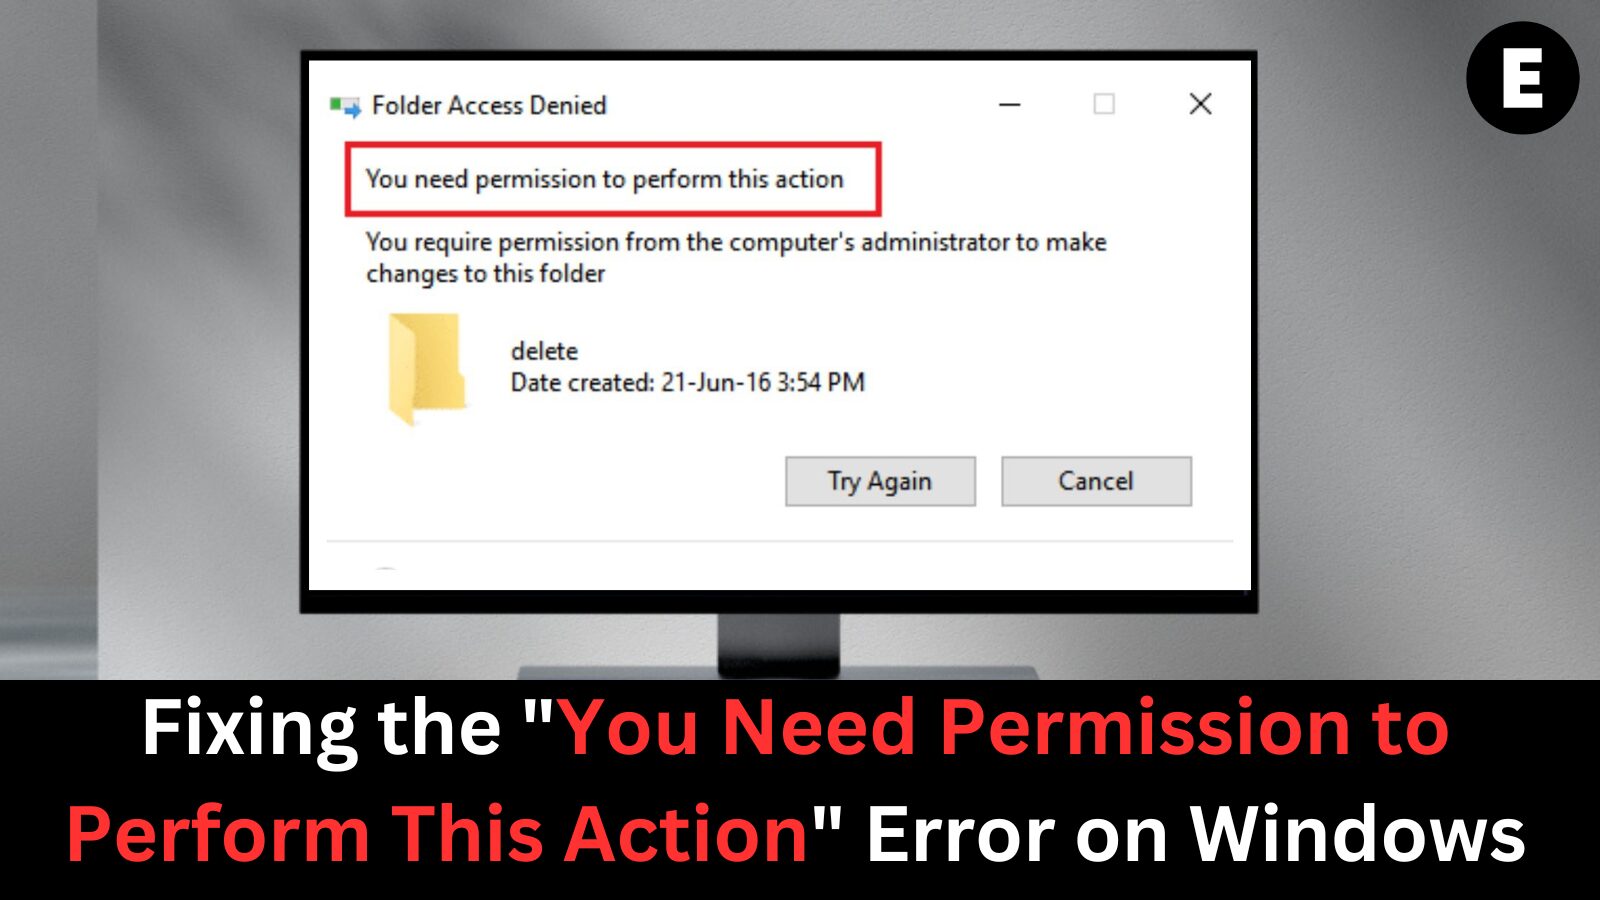
Microsoft takes your file security seriously, but sometimes its protective measures can go a bit too far. One such instance is the “You need permission to perform this action” error, which may pop up when trying to delete a folder, run an application, or open a file.
This error can occur for a variety of reasons, and its root cause isn’t always clear. But don’t worry! We’ve gathered the most effective methods to resolve this issue quickly and efficiently. Read on to learn more about what causes this error and how you can fix it in just a few minutes.
What Causes the “You Need Permission to Perform This Action” Error?
While there isn’t a single, definitive cause for the “You need permission to perform this action” error, it is most commonly linked to issues with user permissions. Permissions are designed to control access to specific files, folders, and actions on your computer, enhancing security, especially on shared systems.
When these permissions are inadvertently changed or corrupted, it can result in errors like this one. Even if you’re logged in as an administrator, you might find yourself unable to create new files, modify, or delete existing ones.
Another possible culprit could be the installation of certain third-party applications or a malware infection, both of which can alter permissions and cause system issues.
No matter the cause, don’t worry—we’re here to guide you through quick and effective solutions to fix this error in just a few minutes. Keep reading to learn how.
How to Fix “You Need Permission to Perform This Action”
Now that we’ve identified the likely causes of the “You need permission to perform this action” error, it’s time to address the problem. Below, we’ve listed the most effective methods to resolve this issue and regain full control of your system.
Note: Some of the following methods require administrative privileges on your device. If you’re unsure how to change your account to administrator status, or you want to create a separate admin user, we recommend watching the tutorial, “Making a user an administrator on a Windows 10 system” by StormWind Studios, to learn how to manage admin users efficiently.
Let’s dive into troubleshooting the “You need permission to perform this action” error!
Method 1: Disable Any Third-Party Antivirus
As mentioned earlier, a third-party application—especially an antivirus—can cause the “You need permission to perform this action” error. Windows 10 users frequently report that their antivirus software interferes with system permissions, causing this frustrating issue. A quick and effective way to troubleshoot this is to temporarily disable your third-party antivirus and check if the error persists.
Important Note: If you disable your antivirus, ensure that Windows Defender is enabled. Windows Defender is a built-in solution for malware protection in Windows 10 and can keep your system safe while your third-party antivirus is disabled.
Here’s how you can temporarily disable your antivirus application:
- Open Task Manager
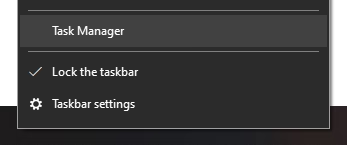
You can open the Task Manager by:- Right-clicking on your taskbar and selecting Task Manager from the context menu.
- Pressing Ctrl + Alt + Del on your keyboard and selecting Task Manager from the security options screen.
- Expand Task Manager
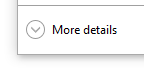
If Task Manager opens in compact view, click on More details in the bottom left to see a more detailed view.
- Go to the Startup Tab
Switch to the Startup tab at the top of the Task Manager window. Here, you can see all the applications that launch when your computer starts.
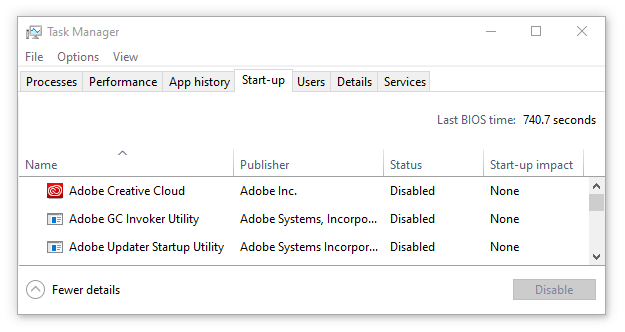
- Disable Antivirus Software
Find your third-party antivirus application in the list, select it, and click Disable in the bottom-right corner. The status of the antivirus should change to Disabled. - Repeat for Other Antivirus Software
If you have multiple antivirus programs installed, repeat the process for each one, then restart your computer.
Once your computer restarts without the third-party antivirus software running, check to see if you can modify, delete, or create files and folders again. If the error no longer appears, it’s likely that your antivirus software was causing the problem. In this case, we recommend switching to a different antivirus solution or reaching out to the support team of the software you were using.
Method 2: Scan Your Device with Windows Defender
If the “You need permission to perform this action” error persists, it’s possible that your device has been infected with malware, which could be interfering with your system’s permissions. To rule out this possibility, it’s important to run a full system scan using Windows Defender, the built-in antivirus tool in Windows 10.
Follow these steps to scan your device with Windows Defender:
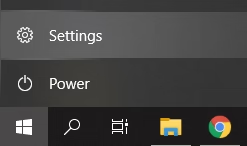
- Open the Start Menu
Click on the Windows icon located in the bottom-left corner of your screen to open the Start menu. - Go to Settings
Select Settings (the gear icon). Alternatively, you can quickly open Settings by pressing Windows + I on your keyboard.
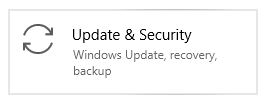
- Navigate to Update & Security
In the Settings window, click on Update & Security.
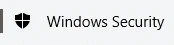
- Access Windows Security
On the left side of the window, select Windows Security.
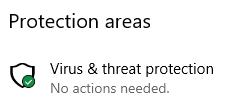
- Go to Virus & Threat Protection
Click on Virus & Threat Protection. This will open a new window where you can manage all your security settings.
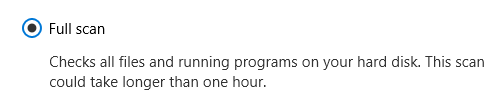
- Select Scan Options
Click on the Scan options link, then choose the Full scan option. While a Quick scan is faster, it’s recommended to run a Full scan to ensure any hidden malware is detected.
- Wait for the Scan to Finish
Allow the scan to complete. Depending on the size of your system, this may take some time. Once finished, take the appropriate actions based on the results to remove any threats found.
Running a full scan with Windows Defender will help you identify and remove any malware that might be causing the “You need permission to perform this action” error. Once the scan is complete and any threats are dealt with, check if the error is resolved.
Method 3: Create a .bat File to Take Ownership
If you’re still facing the “You need permission to perform this action” error, one method you can try is creating a .bat file that forces your system to take ownership of the folder in question. This can help you regain control over the folder and resolve permission-related issues. Here’s how you can create and use this batch file:
- Create a Text Document
Right-click on an empty space on your Desktop, select New, and then click Text Document.

- Name the Text Document
Name the new document Fix.txt (or any name you prefer) and open it using a text editor. - Copy and Paste the Code
Copy the following lines of code and paste them into the text document:SET DIRECTORY_NAME=”DIRECTORY” TAKEOWN /f %DIRECTORY_NAME% /r /d y ICACLS %DIRECTORY_NAME% /grant administrators:F /t PAUSE
- Replace the Placeholder with the Folder Path
ReplaceDIRECTORYwith the path to the folder you’re having trouble accessing. For example, if the folder is named Photos on your desktop, replaceDIRECTORYwithC:\Users\your username\Desktop\Photos.

- Save and Rename the File
Save the document, then navigate to your Desktop. Right-click on the Fix.txt file and select Rename. Change the file extension from.txtto.bat, so the file is now named Fix.bat. You may get a warning about changing the file extension; click Yes to confirm.

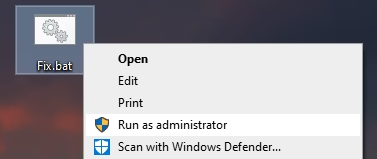
- Run the .bat File as Administrator
Right-click on the Fix.bat file and select Run as administrator. This will execute the commands in the batch file and take ownership of the specified folder.
- Check Access
After the process completes, check if you can now access, modify, or delete the folder that was causing the error.
By following these steps, the .bat file will assign the proper ownership and permissions, allowing you to regain control of the folder and fix the “You need permission to perform this action” error.
Method 4: Change Permissions Without Taking Ownership
If you’d rather not change the ownership of a file or folder, you can still grant yourself the necessary permissions to access it. This method is especially useful when you’re dealing with sensitive files and want to avoid shifting ownership, which could potentially cause more issues or raise concerns on shared systems.
Here’s how you can change the permissions of a file or folder on Windows 10:
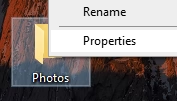
- Right-click on the File or Folder
Right-click on the problematic file or folder, and select Properties from the context menu.
- Go to the Security Tab
Once the Properties window opens, switch to the Security tab located at the top.

- Click on the Advanced Button
In the Security tab, click on the Advanced button to open more detailed settings.

- Check Your User Permissions
Look for your username under the Access column. If your username appears but doesn’t show “Full control,” or if you don’t see your username listed at all, follow the next steps to add the necessary permissions. - Add Your Username
If needed, click the Add button to add a new permission entry. - Select Principal
In the next window, click on the Select principal link at the top. This will allow you to type in your local username. - Enter Your Username
Type in your username (make sure to type it correctly as it is case-sensitive) in the Enter the object name to select field. Click the Check Names button to validate your username and then click OK. - Grant Full Control
After selecting your username, place a checkmark next to Full control. This will automatically grant you all necessary permissions for the file or folder, except for “Special permissions.” - Confirm and Try Again
Once you’ve granted yourself Full control, click OK to confirm the changes. Try to access, modify, or delete the file or folder again.
By adjusting the permissions in this manner, you ensure that you can perform necessary actions without needing to change ownership, which can help avoid potential complications on a shared computer.
Run a System File Checker (SFC) Scan
Windows 10 comes with a variety of built-in troubleshooting tools to help identify and resolve system issues. One of the most effective tools is the System File Checker (SFC), which scans your system for corrupted or missing system files and attempts to repair them automatically.
Here’s how you can run an SFC scan on Windows 10:
- Open the Run Utility
Press the Windows + R keys on your keyboard to open the Run utility. - Launch Command Prompt as Administrator
In the Run box, type cmd and press Ctrl + Shift + Enter to open Command Prompt with administrator privileges.
If prompted, click Yes and enter your password to allow the program to run as an administrator. - Run the SFC Command
In the Command Prompt window, type the following command and press Enter:sfc /scannow - Wait for the Scan to Complete
The SFC tool will now begin scanning your system for issues. The scan may take some time, so be patient and avoid interrupting the process. Let the scan complete to ensure that all system files are thoroughly checked. - Fix Issues Automatically
If the SFC tool detects any issues, it will attempt to automatically fix them. Once the scan is finished, review any messages or notifications to confirm that the problems were resolved.
Running an SFC scan can help resolve many system-related problems by fixing corrupt or missing system files, improving overall system stability and performance.
One more thing
If you’re in search of a software company that embodies integrity and upholds honest business practices, your quest ends here at Ecomkeys.com. As a Microsoft Certified Partner, we prioritize the trust and satisfaction of our customers. Our commitment to delivering reliable software products is unwavering, and our dedication to your experience extends far beyond the point of sale. At Ecomkeys.com, we provide a comprehensive 360-degree support system that accompanies you throughout your software journey. Your trust is our foundation, and we’re here to ensure that every interaction with us is a positive and trustworthy one.